Measuring Aquarium-Light Cord Length along the Real Installation Route
A wall outlet can appear close to an aquarium while the supplied cord still fails to reach. The mistake is usually measuring a straight line from lamp to socket. A safe installation route travels down the stand, forms required slack or a drip loop, passes a controller, turns around furniture, clears filter doors, and places the power supply where it is supported and ventilated. The connector may also be too large for an existing opening. Measuring the real path before ordering prevents stretched leads, hanging adapters, wet joins, and an aquarium that must be moved after setup.
Start with a scale sketch or a marked photograph. Draw the fixture, controller, detachable connectors, power supply, outlet, stand panels, doors, shelves, filter hoses, and possible splash zones. Label which cable segment is fixed to each component and which can be disconnected. Product diagrams should state whether "cord length" describes one section or the complete route. If the controller sits in the middle, its desired operating position may determine how much lead is available on both sides. A single total dimension can hide that important split.
Trace the intended route with a flexible measuring tape or nonconductive cord before livestock and equipment crowd the stand. Follow every vertical drop and horizontal turn rather than pulling a diagonal across open space. Add only the service slack required to remove, clean, or reposition parts safely. Excess cable is not automatically useful if it must be coiled against a warm supply or left on a wet floor. Record the measurement section by section so another person can verify it.
A drip loop, where applicable, uses length that a straight-line estimate ignores. The lead must descend before it approaches a connection so water does not naturally run toward the plug. The exact arrangement should follow the product and local electrical guidance. Do not create a loop that lies in a puddle, catches a cabinet door, or pulls on the fixture. Mark its lowest safe point on the sketch and include that distance in the total route from the beginning.
Service doors often cause the final surprise. A cable that reaches with the cabinet closed may stretch across the opening when a canister filter is removed. Simulate ordinary maintenance using empty, safely positioned equipment. Open each door fully and check that the lead does not rub a hinge, sharp panel edge, or hot component. The power supply should rest on an approved stable surface rather than swing from the cord. If servicing requires unplugging, the connection must remain accessible and dry.
Connector dimensions matter at pass-throughs. Measure the largest rigid part, including locking collars and strain relief, not just the cable diameter. Do not cut a moulded connector to fit through a small hole or enlarge furniture near a loaded tank without understanding the structure. A qualified installer may create a protected route when appropriate. Any edge that touches a lead needs a suitable smooth finish or approved protection so ordinary movement does not abrade insulation.
Imagine an outlet one metre from the aquarium's rear corner. The fixture lead first drops half a metre, forms a loop, travels around the stand, rises to a dry controller, and turns past a filter door. Although the straight distance sounds adequate, the actual route exceeds it and needs service slack. A dimensioned drawing reveals the shortage before purchase. The owner can select a verified cable option or reposition approved components instead of stretching the original lead across the cabinet.
Extensions must be explicitly compatible. Matching plugs do not prove voltage, current, polarity, communication, sealing, or conductor suitability. Use only the length and part approved by the manufacturer, and respect any maximum chain or cable limit. Do not join household USB, barrel, or low-voltage leads by appearance alone. If no supported extension exists, choose another fixture arrangement or have the outlet situation evaluated by a qualified person. An improvised join near water creates risk and complicates warranty and troubleshooting.
Keep the cable away from repeated heat and moisture exposure. Do not route it across a light's vent, heater, hot pipe, or sharp metal stand. Separate low-voltage control leads from mains wiring as required and avoid tight bends at strain reliefs. Inspect for flattening, cracking, discolouration, stiffness, or residue during routine maintenance. If a cable or connector becomes wet where it must remain dry, damaged, unusually hot, smoking, or burning-smelling, isolate the equipment safely and seek qualified support rather than adding tape.
Commission the final route by using the complete system normally. Move lids, open doors, operate the controller, and perform a dry maintenance rehearsal. Confirm that nobody must unplug life-support equipment to reach the light connection. Label both ends when several similar adapters share a power area. Then update the sketch with actual measurements and part numbers. This record is especially useful when a replacement supply arrives later; a technically compatible item still needs the right lead placement and dimensions.
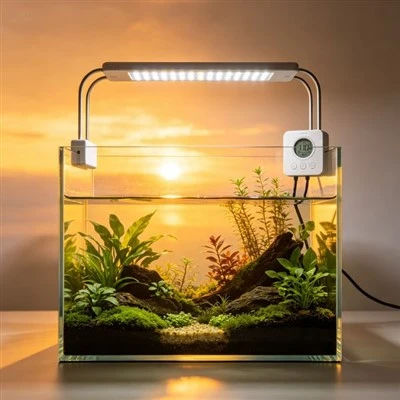
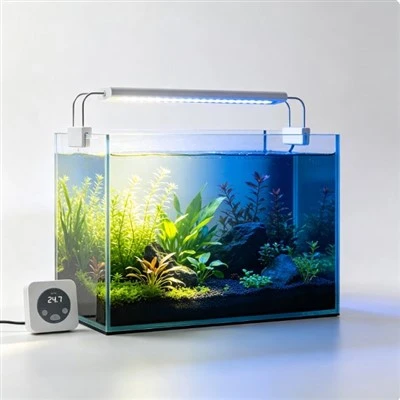
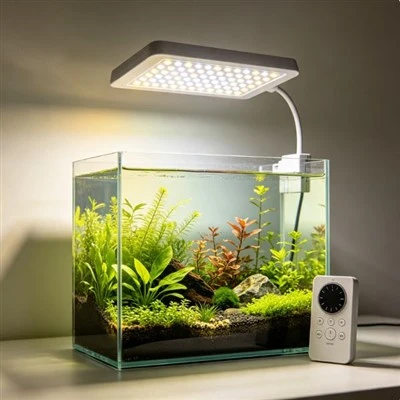
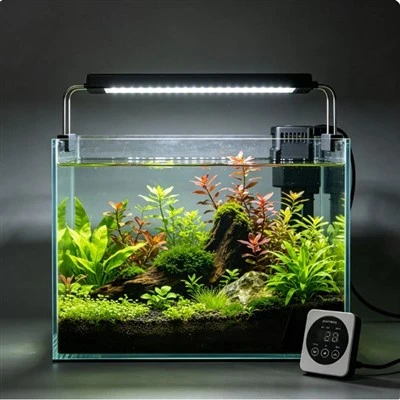
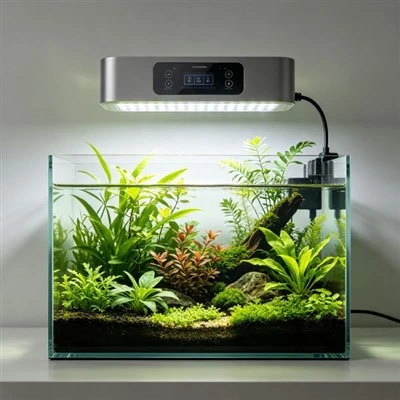
Good product documentation provides a segment-by-segment cable drawing, connector sizes, controller location, adapter dimensions, and approved extension options. Buyers should not have to estimate from a studio photograph. A correctly measured route looks ordinary: no stretched lead, suspended power brick, crushed connector, wet join, or blocked door. That ordinary result is evidence that the installation was designed around the real furniture and service routine rather than around the shortest distance between two points.
Before placing an order, convert the drawing into a short acceptance list: minimum length for each fixed segment, required plug type, connector diameter, controller position, and approved extension part if needed. Ask the seller to confirm those dimensions for the exact version being shipped. Packaging or regional adapters can change while the product name remains similar. A written check is far more reliable than assuming the cable in a customer photograph matches the current item.