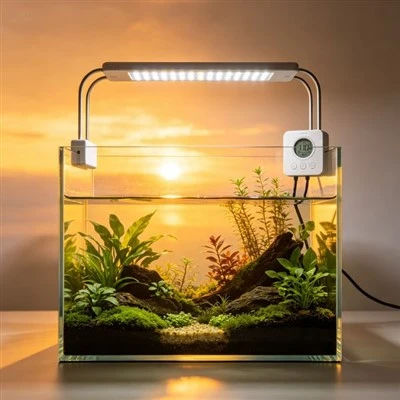
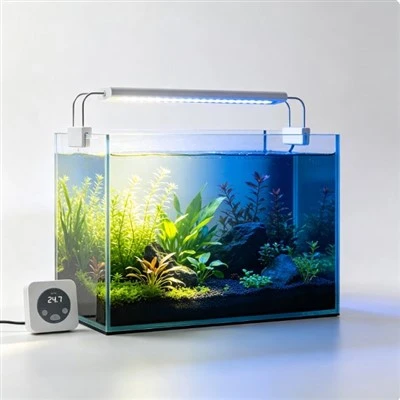
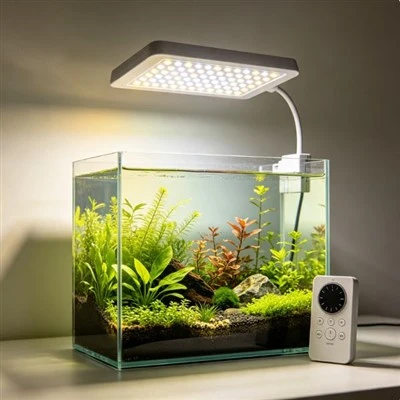
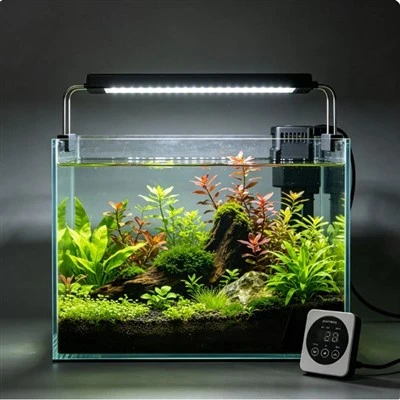
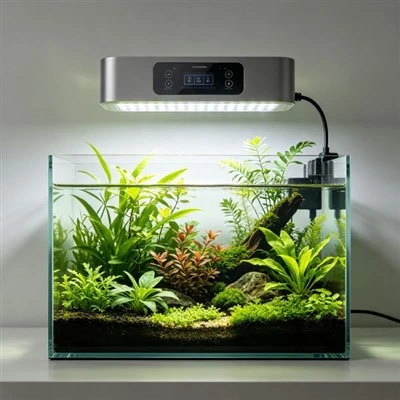
Acrylic aquariums can be remarkably clear, light, and versatile in shape, yet they do not behave exactly like glass around lighting. Fine scratches may become visible when a compact source shines across them, curved panels can distort reflections, and a top opening may limit mounting choices. Acrylic also requires compatible cleaning and careful handling. A good lighting installation respects the tank manufacturer's structural limits, the fixture's heat and clearance requirements, and the room's normal viewing geometry. It should never use aggressive cleaning or excessive clamp force merely to improve the picture.
Inspect the tank before selecting a mount. Record panel thickness, rim or brace design, top openings, curvature, and any restrictions supplied by the aquarium maker. Note existing scratches without polishing them for the test. Measure the available clearance above the tank and locate shelves, canopies, vents, and feeding access. The fixture must fit without loading a thin edge, obstructing a brace, or requiring users to force the opening during maintenance. If the compatibility information is incomplete, ask the tank and light suppliers rather than guessing from a photograph.
Scratches are most noticeable when light meets them at a revealing angle. A fine line that is almost invisible under diffuse room light can shine brightly under a low point source. Move to normal viewing positions and determine whether the line remains visible or appears only from one extreme angle. Changing the approved fixture height, beam cutoff, or seating glare may reduce the effect. Do not sand or polish a filled aquarium without the correct acrylic procedure and livestock-safe planning; an optical nuisance does not justify damaging the panel.
Cleaning technique has long-term consequences. Use an acrylic-safe tool and product recommended for the application, with clean material that will not carry grit across the surface. Wipe the fixture shield separately according to its own manual. Household glass cleaner or an abrasive pad may haze or scratch acrylic and can introduce unwanted chemicals near the water. If mineral deposits resist normal cleaning, obtain suitable guidance rather than applying more force. Clear surfaces are maintained through compatible methods, not through brightness that tries to overpower damage.
Curved acrylic changes the apparent position and shape of highlights. A lamp that looks uniform through the centre may stretch into a bright band near a rounded corner. Evaluate distribution in the actual filled aquarium, because water and wall shape work together. Use neutral light and examine known objects placed safely at several locations before livestock enters. The goal is useful visibility, not a promise that optics can remove every distortion inherent to the vessel. Coverage diagrams made for flat glass may not predict the same appearance through a curved wall.
Heat must be considered as an installation condition, not inferred from how warm the acrylic feels. Maintain the fixture's stated clearance and ventilation, and respect any temperature limits from the tank maker. A lid or narrow opening can trap warm air, especially beneath a canopy. Measure the room and enclosure temperature during normal operation if needed, following appropriate methods. Do not lay a diffuser, towel, or improvised shield on the fixture. A metal housing can still transfer heat, and its presence does not prove the complete system is cool.
Clamping needs particular restraint. Apply only the mounting method and thickness range approved by both products. A concentrated load can stress or mark acrylic, while a bracket tightened against a curve may not sit squarely. Do not add packing pieces, longer screws, or extra magnets without engineering confirmation. Route the power cable so that it does not pull the mount sideways. After installation, inspect the contact area periodically for movement, whitening, cracks, or permanent indentation, and stop if the support condition changes.
Reflections from the room can be addressed without touching the tank. Pale walls, windows, and overhead lamps may appear strongly in acrylic, especially across curves. Test blinds, room-light timing, background colour, or the viewing position before modifying the aquarium fixture. A compatible shade or beam cutoff can help when the supplier allows it. Record one change at a time under matched conditions. A successful adjustment should reduce glare while keeping ventilation, mounting security, and service access intact.
Daily use should not require risky handling. Save a normal program and a neutral inspection setting, label the controls, and confirm recovery after a power loss. Keep connectors and supplies away from splash and condensation. Disconnect before moving or cleaning the light as directed. Impact damage, a damp dry-only connection, smoke, unusual warmth, or a scorched smell means the lamp stays off pending technical assessment. Likewise, any new crack or stressed area in the tank deserves immediate attention from an appropriate qualified specialist.
An acrylic-friendly lighting product provides dimensioned mounts, realistic clearance information, controlled glare, and optics that can be evaluated at the intended height. It does not advertise a clamp as universal or a housing as harmless to every panel. The owner's final check is practical: surfaces can be cleaned safely, scratches are not unnecessarily highlighted, curved views remain usable, feeding access is clear, and neither fixture nor tank is being stressed. Thoughtful geometry and material care do more than extreme output to preserve a clear display.
Keep a product record with the tank material and mount, not only the lamp. Include the aquarium maker's instructions, panel thickness at the attachment point, bracket pads, tightening method, and photographs taken before use. If a future owner changes the light, this record shows which assumptions must be checked again. Acrylic damage can develop gradually, so periodic side views of the contact area are more informative than waiting for a mount to lean. Any whitening, distortion, or crack calls for prompt specialist assessment rather than another turn of the screw.