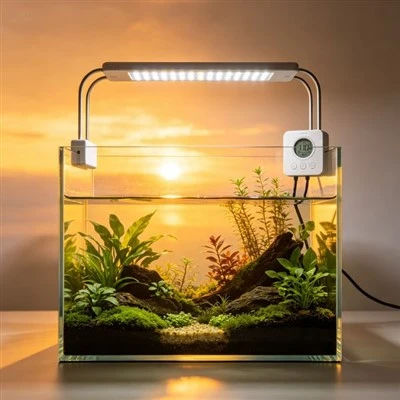
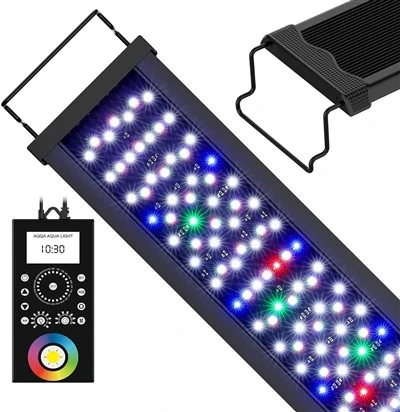
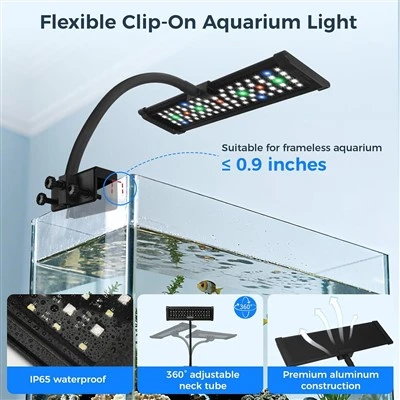
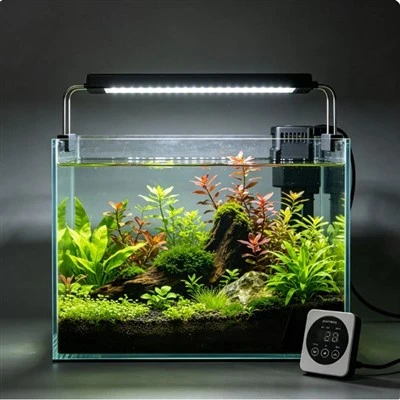
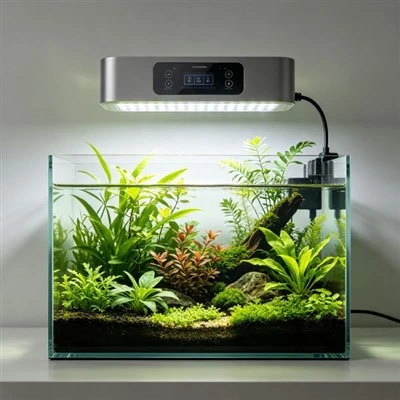
A rimless aquarium deliberately exposes the water surface and the clean top edge that a hood would hide. The same openness also places the fixture, waterline deposits, reflections, and spill light directly in the viewer's sightline. A tank may be well illuminated internally while a seated person across the room sees the bare LEDs as an uncomfortable bright source. The solution is not automatically lower output. It begins with mapping eye height, fixture height, beam direction, waterline, room surfaces, and the approved options for shielding or mounting.
Sit in every normal viewing place before final installation. Include a sofa, dining chair, desk, and standing maintenance position. From each, note whether the LEDs themselves are visible, whether a bright reflection crosses the surface, and whether light spills onto the wall. Record seat and fixture heights so the result can be reproduced. A setup that looks perfect while standing beside the aquarium may glare strongly at a child or a person seated farther away. Real room geometry matters more than the showroom angle used in a product photograph.
Beam cutoff is often more useful than raw dimming. A compatible shade can block direct sight of the source while allowing light into the aquarium. The accessory must be designed for the fixture, preserve cooling, remain secure, and stay within environmental limits. Do not tape cardboard, fabric, or an unknown plastic strip to the housing. These materials can trap heat, absorb moisture, detach, or damage the finish. Ask for the shade dimensions and intended mounting orientation, then test from each viewing position.
Fixture height changes several things together. Raising a lamp within its approved range may broaden coverage and move the source out of one sightline, but it can increase spill onto the room or expose it to another viewer. Lowering it may improve cutoff while creating a narrow hotspot or reducing working access. Make small changes, keep the same output during comparison, and confirm bracket stability after every move. There is no universal "rimless height"; the tank dimensions, optics, room, and product limits decide the result.
Waterline deposits can look like a lighting defect. A pale mineral or salt band catches side light and becomes much brighter than the clean panel beneath it. Clean the tank through the material-safe aquarium method and clean the fixture separately according to its manual. Do not use abrasive tools or spray cleaner near an energized lamp. If the bright line returns quickly, review splash, evaporation, fill level, and maintenance rather than continually increasing or changing light colour to hide it.
Surface movement creates reflections that travel across the ceiling or viewer's eyes. The pattern depends on return direction, source size, and the angle of the water. Circulation should be set for the aquarium's husbandry needs, not reduced solely to stop shimmer. First test optical options and room positions. If a return adjustment is appropriate for the system, change it carefully and observe the complete effect. A calmer reflection is not automatically evidence of better water movement, just as strong shimmer is not evidence of more fixture output.
Wall colour and room lighting can amplify glare. A white wall behind the viewer may reflect in the front panel; a window can turn the surface into a mirror during daytime. Close a blind or switch off one room light to identify the source before adjusting the aquarium. A dark background may increase contrast but should be chosen for the complete display, not presented as a biological requirement. Matched observations at the same hour help distinguish daylight changes from lamp changes.
The open top creates a moisture and access boundary. Use the fixture only at the position permitted by its manufacturer and keep controllers, adapters, and connectors out of splash. Ensure cables have safe slack and drip loops where applicable. Do not reach over the open aquarium to move an energized light. If equipment becomes damaged, wet where it should remain dry, smoking, unusually hot, or emits a burning smell, take it out of use. A visually elegant setup still needs ordinary electrical discipline.
Save a neutral inspection setting separate from decorative modes. It should let the owner see food, panel condition, and equipment without introducing strong colour that hides detail. The normal program should include a reliable dark period, taking room and window light into account. Verify the timer after a power interruption. If the fixture restarts at full output, document the behaviour and use the supported recovery procedure. A comfortable room experience depends on predictable operation as much as on physical cutoff.
Assess the final arrangement with a simple pass-or-revise list. No normal viewer sees a painful direct source; the aquarium remains evenly readable; compatible shielding is secure; vents are clear; mounting hardware is stable; maintenance access remains open; and the waterline can be cleaned safely. Product information that includes beam drawings, shade options, and a realistic mounting range makes these decisions easier. Rimless lighting succeeds when the hardware recedes from attention and the aquarium can be enjoyed from the places where people actually live.
Comfort should be checked over time, not only during a ten-second setup glance. Sit in the room through an ordinary evening and notice whether people squint, change seats, or switch off the aquarium early. Those everyday responses reveal direct glare that a standing installer may miss. If several viewers use different heights, design for the most exposed normal sightline or provide a documented adjustment that does not disturb coverage. The best solution lets the timer run as planned without asking the household to tolerate a bright source simply because the open-top photograph looks elegant.
Record the chosen shade and height with a side photograph. After cleaning or moving the tank, that reference makes it easy to restore the comfortable geometry instead of beginning the glare test again.