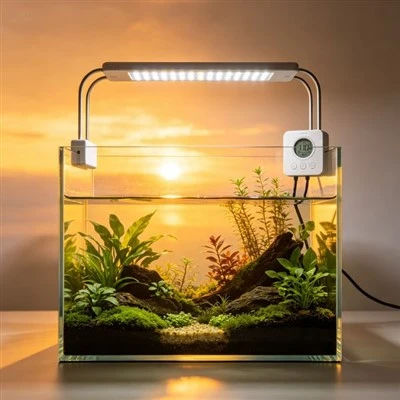
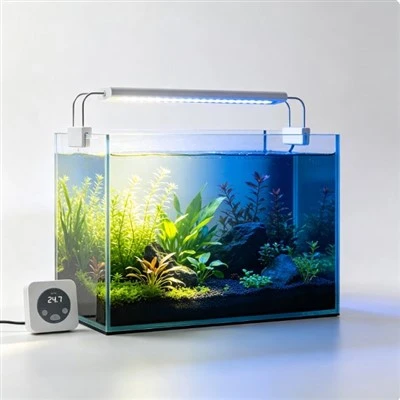
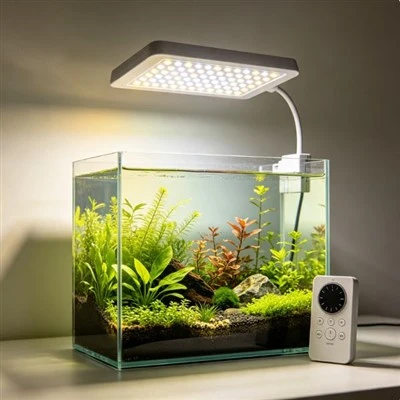
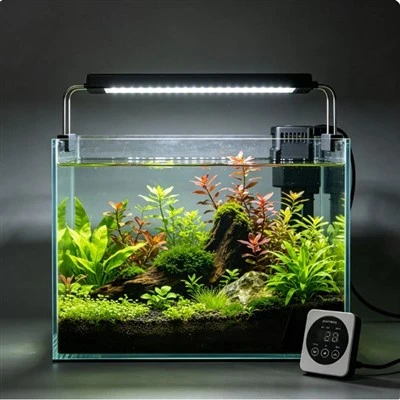
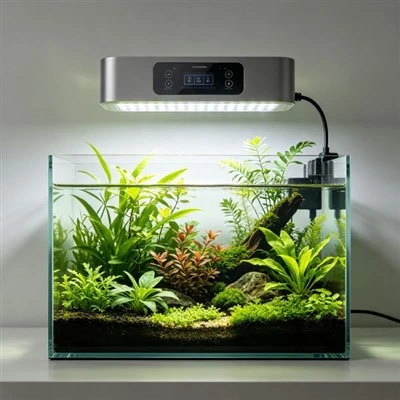
A pendant can look perfectly aimed while it hangs over an empty aquarium. Then the tank is filled, the lid is installed, and the brightest underwater area appears several centimetres away from the planned rock or plant group. Nothing inside the fixture has necessarily moved. With an air-gapped lid, light crosses the air–lid and lid–air interfaces before reaching the air–water surface; if the lid contacts the water, a lid–water interface replaces that final air gap. Each boundary can affect the path. This ordinary observation is a practical introduction to refraction: light travels differently through materials with different refractive indices, especially when it reaches a surface at an angle.
The effect is easiest to miss when people draw the beam as a straight cone from the fixture to the bottom. That drawing may be adequate for rough placement in air, but it cannot capture every aquarium. At a flat boundary, a ray arriving nearly perpendicular to the surface changes direction less visibly than one arriving at a steep angle. A curved lid or bowed panel adds changing surface angles. Ripples continually tilt the water surface, so moving bright lines can appear even when the fixture is stationary. Reflections occur at the same boundaries and further change what a viewer sees.
Consider a narrow pendant aimed toward a display feature near one end of the tank. In air, its centre line appears to point directly at the feature. After passing obliquely through a cover and the water surface, the brightest patch may shift, while surface motion makes its edges dance. A long bar mounted close to horizontal and shining mostly downward may show a smaller positional change in the centre, although hardscape can still create shadows. The comparison does not establish a universal rule for all optics; it shows why angle and geometry must be recorded before blaming the lamp.
A useful setup starts with a physical map. Mark the intended underwater target, the fixture position, its approved mounting height, the lid shape and thickness, the normal waterline, and the main viewing positions. Note whether the cover is flat, curved, clear, textured, wet with condensation, or carrying deposits. Record the surface condition during the check because a calm surface and a strongly agitated surface do not create the same pattern. If a measurement sensor is used, define its position and orientation independently of the viewer's impression.
Test at a moderate, safe output that makes the field visible without creating needless glare. Adjust the approved mount in small steps and change only one geometrical factor at a time. After each step, check the target from more than one normal viewing position. A patch that seems correctly located from the front may produce direct glare from a sofa at the side. Rechecking the edges is as important as checking the centre, because moving the central beam can darken another useful zone or expose bright LED points to a seated viewer.
Water movement should be treated as a real operating condition, not as measurement noise that can always be ignored. Pumps, overflows, and air stones can change the surface angle from moment to moment. For a repeatable comparison, record whether circulation is running and allow it to operate in its normal safe mode. Do not stop essential life-support equipment merely to obtain a neat photograph. If a calm-water reference is genuinely required, it belongs in a controlled technical method with appropriate husbandry safeguards, not in an improvised home test.
The same care applies to numerical data. Fixture height should be tied to a clear reference point, such as the normal waterline or a defined mounting surface. The underwater target plane and water depth should also be stated. A result measured through a particular lid cannot automatically be applied to an open-top tank. Likewise, an air measurement cannot by itself predict every underwater point, because surface movement, cover material, water depth, tank structure, and absorption or scattering in the real system may differ.
Mounting safety sets the limits of every adjustment. Do not tilt a fixture beyond the angles allowed by its mount, loosen a clamp while it is carrying an unsupported load, or improvise wedges and hanging points. Keep cables routed without strain and maintain the required clearances, ventilation, and water-exposure boundaries. A drawing or optical model is useful for planning, but it does not prove that a bracket is stable or that every reflection has been considered in a furnished aquarium.
Good product information makes aiming easier without promising a perfect result in every tank. It shows the approved height and angle range, compatible lids or optical accessories where relevant, secure adjustment points, and a clear reference for any distribution diagram. Installation guidance should remind the user to verify the actual underwater zone after filling the aquarium. Refraction is not a defect to be eliminated; it is part of the light path. Once air, glass, water, surface movement, and viewing position are treated as separate variables, an unexpected bright patch becomes a solvable geometry problem rather than a mysterious change in lamp output.
The basic relationship is often summarized by Snell's law: the angles on the two sides of a smooth boundary are linked by the refractive indices of the materials. That principle helps predict the direction of an ideal ray, but an aquarium lid is not always one perfect boundary. Its two faces may not be parallel, it may bow under its own weight, and a water film or condensation can add irregular interfaces. Scratches and deposits can scatter light instead of only bending it. Designers can model a nominal clean system, then validate a representative assembled tank. Owners can do the practical equivalent by cleaning only as instructed, restoring the normal waterline, and checking the filled aquarium rather than aiming solely from an empty-tank sketch. The safest final adjustment is the one that keeps the approved mount secure while placing the actual underwater field where it is needed.