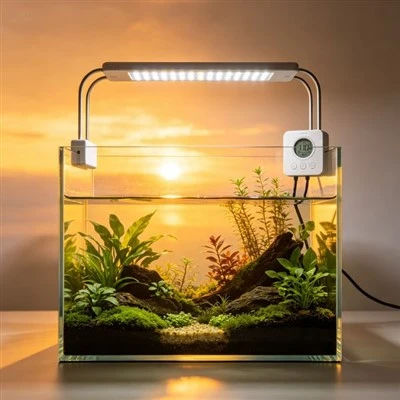
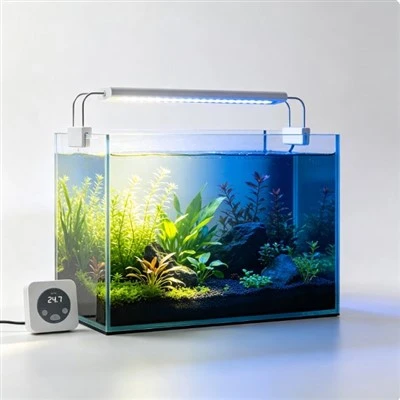
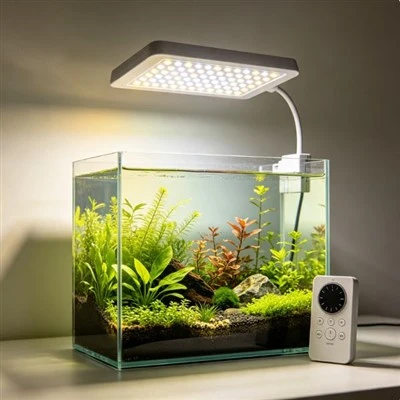
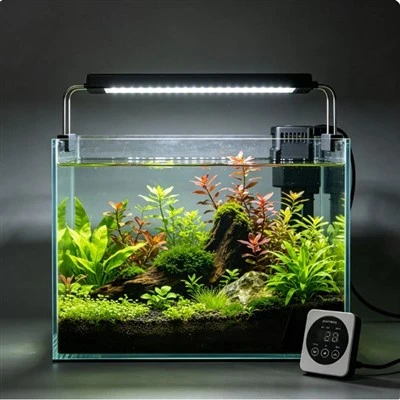
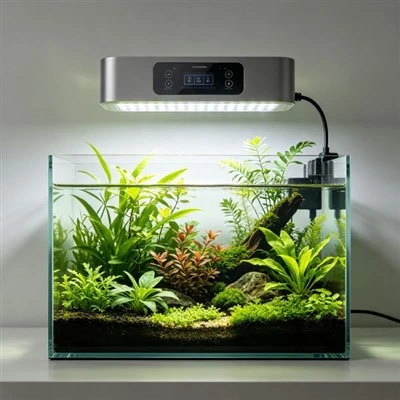
A clamp-mounted aquarium light may look unchanged for months and still begin to lean. The screw is present, the plastic arm is not cracked, and the glass has not moved, yet the lamp slowly points lower than it did after installation. One possible explanation is plastic creep: gradual deformation while a material remains under load. It is not proof of poor plastic or an imminent failure, because the result depends on material, shape, stress, temperature, manufacturing, and time. It is, however, a reason to treat mounting position as something that deserves periodic inspection.
Plastic behaves differently from an ideal rigid block. When a bracket is tightened, portions of it remain stressed by the clamp force and the weight of the fixture. Under sustained stress, some polymers can change shape slowly, even when the load never exceeds the level that would cause an immediate break. Warmer conditions commonly increase the rate of time-dependent deformation. Above an aquarium, heat from the room, the light, and enclosed cabinet space may all contribute. A change too small to notice in one day can accumulate enough to reduce grip or alter an angle.
The geometry of the mount matters as much as the product's total weight. A long arm places a bending moment on its base, while a fixture positioned far from the clamp creates greater leverage than the same fixture close to it. Tank-rim thickness, spacer placement, screw alignment, and contact-pad condition influence how force is distributed. If the clamp sits partly on trim or presses against a tapered edge, a small deformation may encourage sliding. That is why stated tank-thickness and load limits should be read as installation requirements, not as optional marketing numbers.
A useful baseline can be made at installation without laboratory equipment. Confirm that every part matches the instructions and that no shipping damage is present. Tighten only by the described method, then photograph the mount from the side and front. A small removable mark beside the clamp or a measured distance from the fixture to the water can make later movement easier to detect. Record the installation date and the room conditions if the area becomes unusually warm. Never mark or modify a component in a way the manufacturer prohibits.
Suppose a compact light is mounted on a rimless tank in early spring. By midsummer, its outer edge sits several millimeters lower, although nobody has bumped it. The room has also become hotter, and a feeding accessory was hung from the light arm for convenience. The added object increases load and leverage, so removing it is an obvious first step. The owner should disconnect power, support the fixture, inspect the clamp for deformation or slipping, and compare it with the original photograph rather than simply tightening the screw harder.
Overtightening is not a dependable correction. Extra torque can concentrate stress, damage threads, distort a pad, chip a tank edge, or accelerate deformation in the clamped part. Heating a bent bracket and forcing it back into shape is also unsafe unless it is a manufacturer-approved repair, because appearance does not reveal how the material's properties have changed. If a mount no longer holds the specified fixture in the specified installation, the appropriate response is to stop using that arrangement and obtain guidance or an approved replacement.
Inspection should cover more than the plastic body. Look for a clamp that has walked along the rim, a screw that no longer sits square, a compressed or hardened pad, whitening around highly stressed areas, looseness at pivots, and cable tension pulling on the fixture. Check that the tank surface itself is sound and that the light cannot fall into water if grip is lost. Perform this work with power disconnected and the fixture supported. A secondary restraint is useful only if the manufacturer provides or approves that method; an improvised cord can create another hazard.
Cleaning practices can affect the assessment. Mineral deposits may hide a joint or make a screw feel tighter than it is, while oils and unsuitable cleaners may alter friction or attack some plastics. Use only cleaning methods compatible with the mount, and keep aquarium water away from components designated for dry use. After cleaning and reassembly, restore the specified position rather than relying on memory. Recheck it after a short service interval. A reference photo taken from the same place is more revealing than looking casually from a new angle.
For buyers comparing mounting systems, useful documentation is more valuable than a vague claim of strength. Look for the permitted fixture weight, glass or rim thickness range, operating-temperature limits, required clearance, tightening instructions, inspection advice, and availability of approved replacement pads or brackets. These details do not predict an exact service life in every home. They let a user determine whether the intended geometry is within scope and recognize when the installation has changed. Materials alone cannot compensate for an arrangement outside the stated limits.
The important lesson is that "not broken" does not always mean "unchanged." A clamp can lose holding force through slow deformation, shifting contact, pad compression, or a combination of factors before a dramatic crack appears. Install within documented limits, avoid extra loads, establish a visible baseline, and inspect the position over time. Include the mount in checks after moving the aquarium, changing the lid, servicing nearby equipment, or experiencing a hot period, because each event can alter load or contact. A second person can support a long fixture while the hardware is examined, preventing the inspection itself from twisting the bracket. If the angle or grip changes, support and disconnect the light before investigating. Replacing an approved mounting part may feel excessive when it still looks mostly normal, but a secure fixture above water is not the place to wait for obvious failure.
A Kitchen Aquarium: Managing Steam, Grease, and